How I Fully Detailed a 2012 Honda Odyssey After 6 Months of Neglect in Ajax

Zehaan
This job hit close to home because it was a family vehicle, not a staged content car. The vehicle was a 2012 Honda Odyssey in Ajax, and it had gone roughly six months without a proper reset. It was a Sunday morning job, which actually made the process easier to document because there was time to slow down, inspect properly, and clean with intention instead of rushing through it.
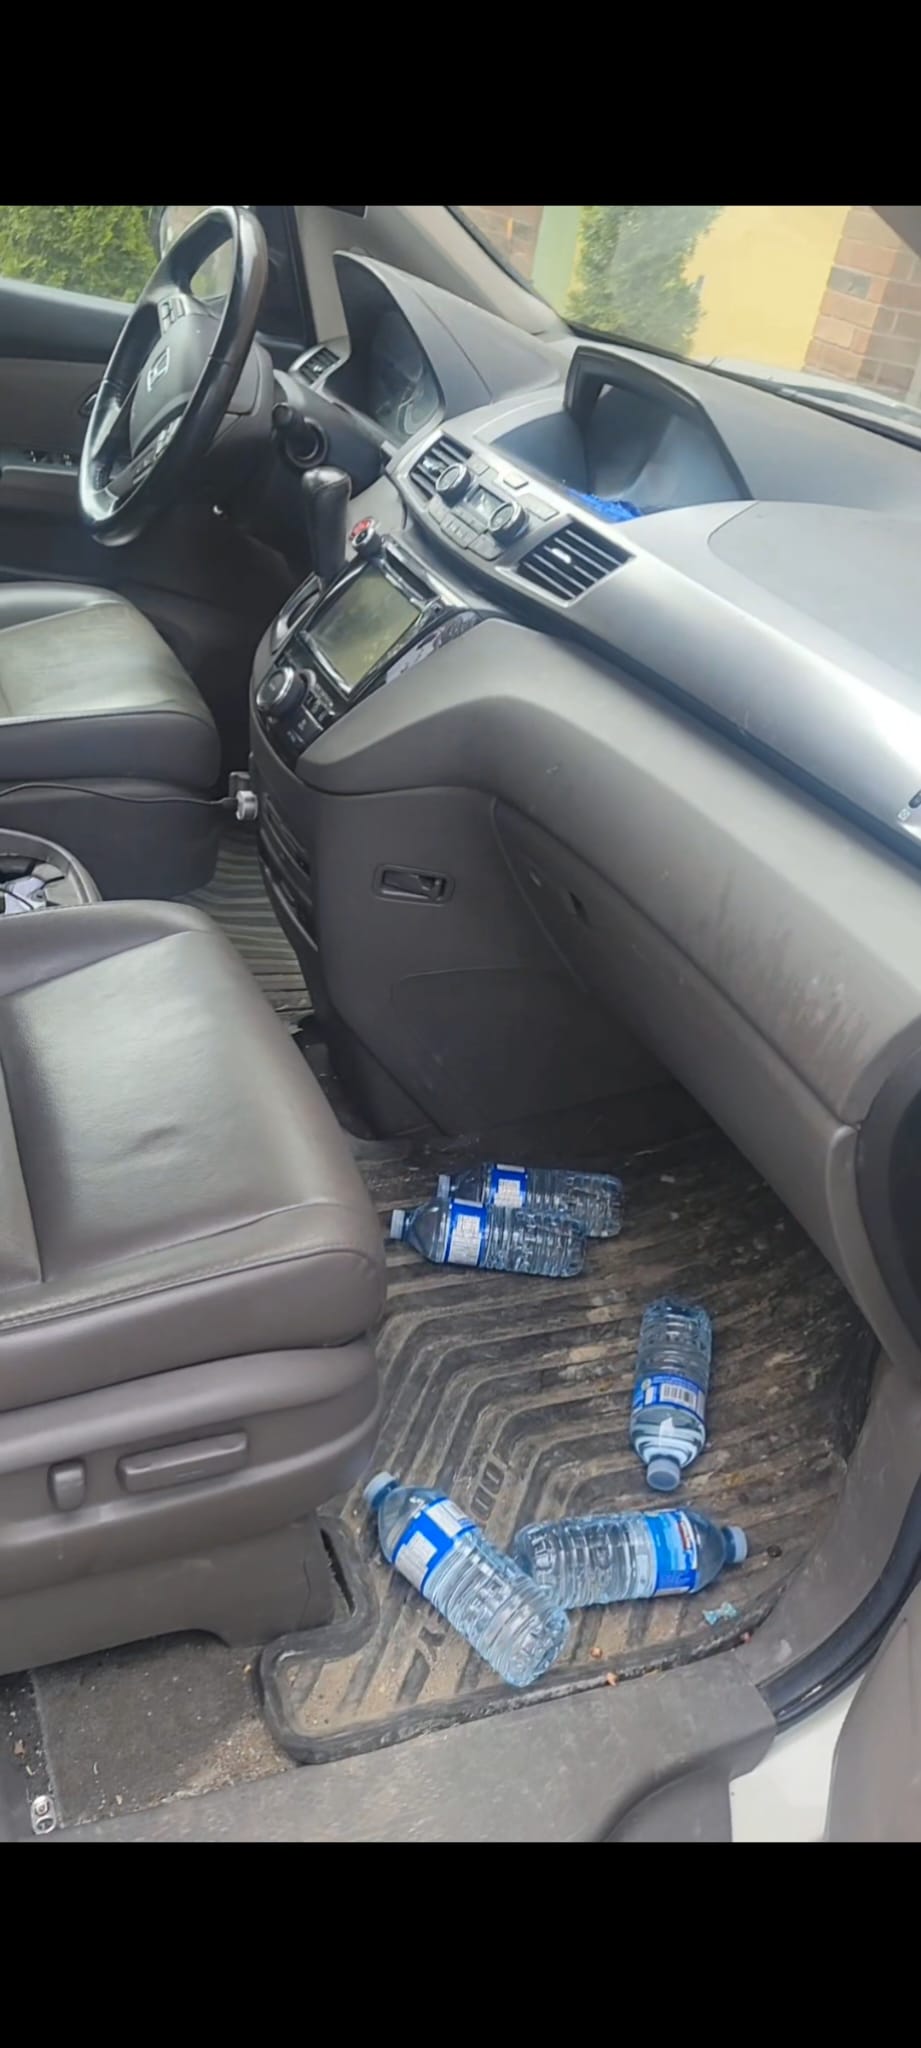
What made this detail worth writing about was not just that the van was dirty. It was the kind of realistic dirt that builds up when a family vehicle is heavily used: bottles on the floor, embedded grime in the mats, dusty trim, dirty touchpoints, and the kind of interior film that makes a vehicle feel tired even when nothing is technically broken. This is the kind of condition many minivans in Ajax and Durham Region sit in before owners finally decide they need a full detail.
If the embedded Short does not render in local preview, open it directly on YouTube.
Initial Assessment: What Needed to Be Fixed First
Before touching any product, the first step was simply reading the van correctly. A lot of people make detailing harder by attacking everything at once. On a minivan like a Honda Odyssey, that wastes energy. The smarter move is to break the job down into zones and decide what is actually driving the bad first impression.
In this case, the biggest issues were obvious:
- Loose trash and water bottles across the front footwell.
- Heavy dirt tracked into the all-weather mats.
- Dust buildup across the dash, console, and trim.
- An overall dull look that made the interior feel older than it is.
- Wheel and tire areas that needed their own dedicated chemistry and tools.
That told me the right order immediately: remove clutter first, dry work second, chemical cleaning third, finishing work last. If you reverse that order, you keep re-contaminating surfaces you already cleaned.
The Exact Products and Tools I Used
Everything on this detail came from a practical pickup list, not some unrealistic studio setup. That matters because the whole point of this article is to show what a real mobile detailer can do with accessible products.
| Product or Tool | Use on This Job | Notes |
|---|---|---|
| Meguiar's Gold Class Car Wash Shampoo & Conditioner | Main wash soap | Safe, slick, and easy to work with on a large family van. |
| Armor All Rim Cleaner 710 ml | Wheel cleaning | Used to cut through brake dust and road film on the wheel faces. |
| Armor All Tire Foam 567 g | Tire finish | Used after cleaning to darken and refresh the tire sidewalls. |
| RIDGID 1-1/4 in. Premium Car Cleaning Shop Vacuum Accessory Kit | Interior vacuuming | Critical for getting into seat edges, rails, and tighter Odyssey spaces. |
| HDX Microfiber Car Wash Mitt | Contact wash | Simple but effective for safe washing when rinsed properly. |
| HDX Wheel Brush | Wheel agitation | Helped work the rim cleaner into areas the mitt could not reach. |
| Turbo Power Windshield Washer, 3.78 L | Windshield system refill | Not a glamour product, but part of finishing the vehicle properly. |
Important note: the cancelled order does not count here because those products were not actually used. I only want this write-up to reflect what physically made it onto the van.
Step 1: Full Cabin Clear-Out Before Vacuuming
The first real work was not shampoo, foam, or dressing. It was clearing the cabin properly. Every bottle, loose item, and piece of visible clutter had to come out before vacuuming started. This sounds basic, but it changes the whole job because you stop cleaning around the mess and start cleaning the actual surface.
On family vehicles, clutter creates fake dirt. Once that clutter is gone, you can finally see the real condition of the carpets, mats, plastics, and seat edges. On this Odyssey, that meant the front footwells immediately became the priority because they were carrying the worst visual load.
Step 2: Dry Vacuum Work Before Any Wet Product
The vacuum stage is where a lot of details are won or lost. If loose dirt is still sitting on the floor and in the cracks, every wet step after that becomes mud management. That is why I used the RIDGID accessory kit early and deliberately.
The vacuum workflow was:
- Pull the obvious debris out by hand.
- Vacuum the floor mats outside the van first.
- Hit the main carpet channels and seat edges.
- Work around the center console, under the front seat edges, and around lower plastic panels.
- Come back for a second pass once the bigger debris was gone.
On a 2012 Odyssey, you have a lot of useful storage and traffic areas, which also means more traps for dust, crumbs, and debris. The vacuum attachments mattered because a broad nozzle would have left too much behind.
Step 3: Floor Mats and Heavy Traffic Zones
The mats told the story of the whole vehicle. They had visible dirt packed into the grooves, which is common on vans that see family use and multiple entries per day. This is where patience matters more than speed. If you just wipe the surface, the mat still looks old. If you work the grooves properly and remove the compacted dirt, the whole cabin starts looking newer fast.
For this part of the job, the goal was not just making the mats darker. The goal was to pull out the lodged dirt, reset the texture, and make the front footwell stop looking neglected. Once those mats were cleaned and reinstalled, the cabin immediately looked sharper.
Step 4: Dash, Console, and Interior Touchpoint Reset
After the floor area was controlled, the focus shifted upward to the surfaces you constantly see and touch: steering wheel, dashboard, center stack, console, and adjacent trim. This is where an interior either feels refreshed or still feels stale.
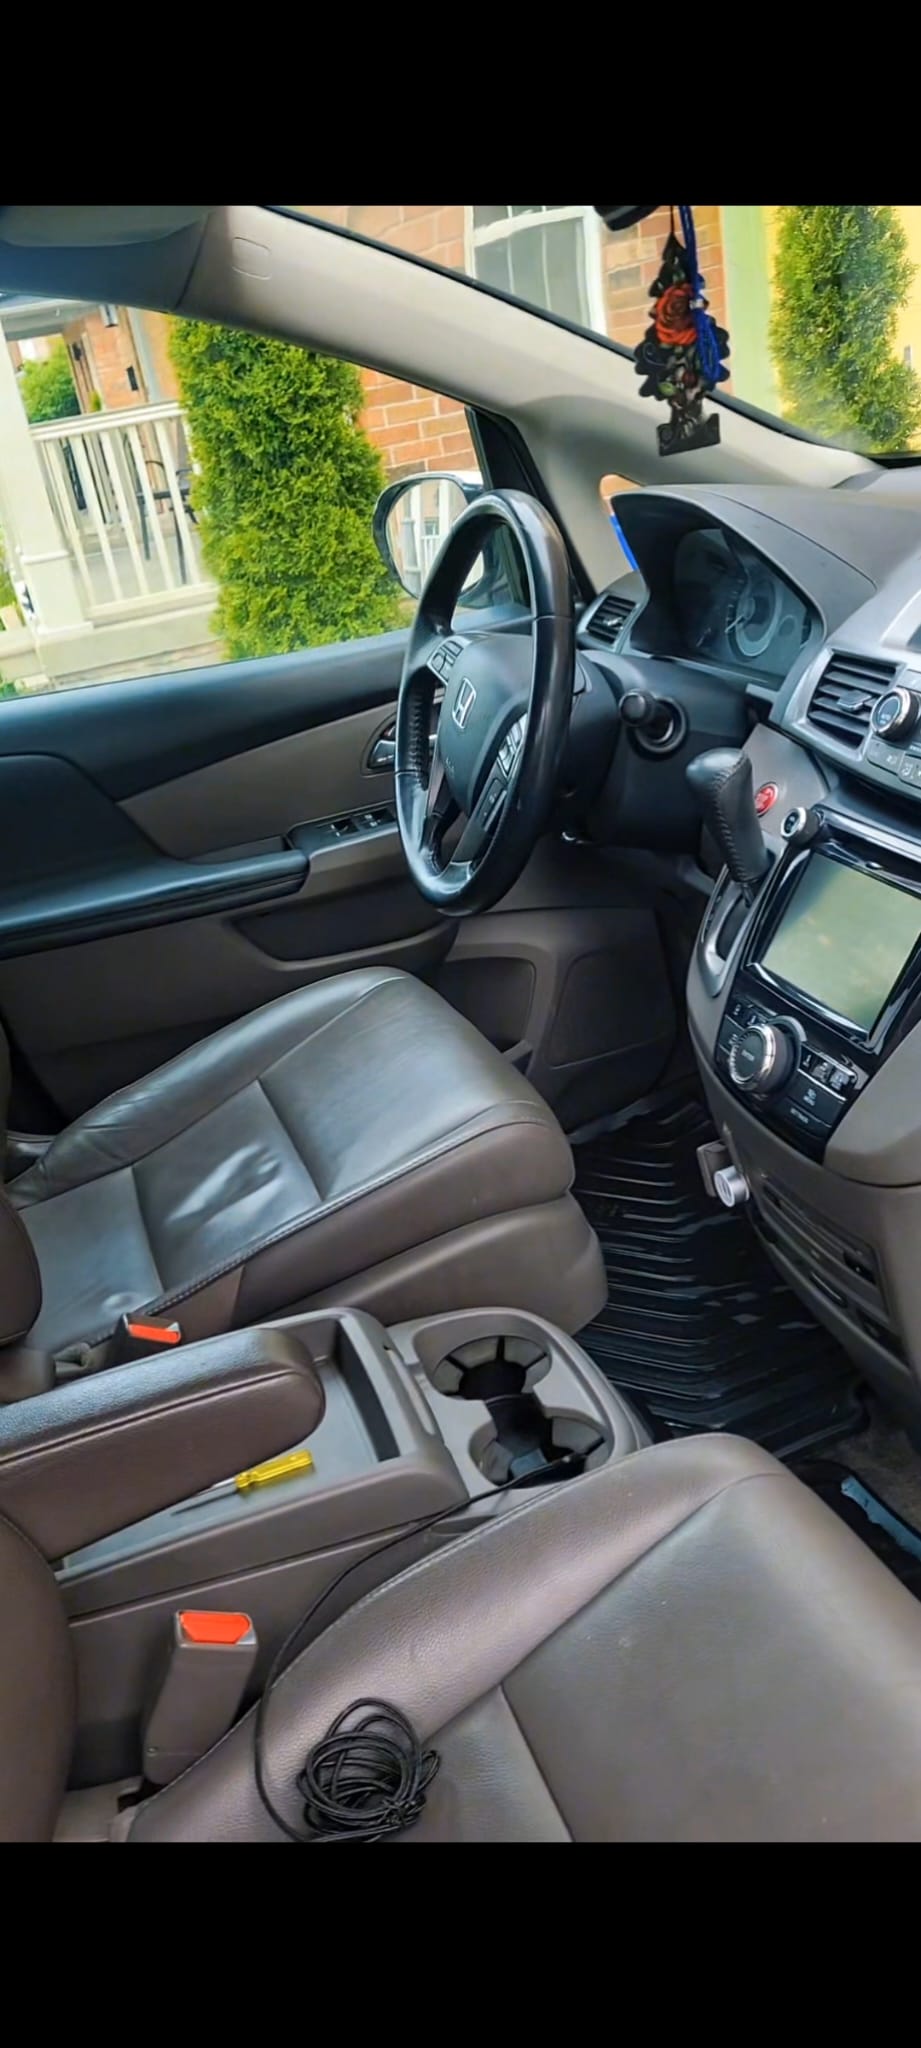
The key here is not overloading surfaces with product. A proper interior reset should look clean, even, and factory-like. On this Odyssey, the win was getting the dash and center area back to a uniform look so the cabin felt maintained rather than greasy or over-dressed.
The after photo shows that clearly. The front seating area no longer looks chaotic. The floor is clean, the console reads better, and the whole front cabin looks more intentional.
Step 5: Exterior Wash, Wheels, and Tires
Even though the before-and-after images here focus on the cabin, a full detail is not really full if the wheels and exterior are ignored. That is where the Meguiar's Gold Class wash, Armor All Rim Cleaner, wheel brush, and Armor All Tire Foam came in.
My approach was simple:
- Use a dedicated wheel stage before final wash steps so brake dust does not transfer back onto cleaner panels.
- Agitate the rims with the wheel brush after the rim cleaner had time to work.
- Wash the body with Meguiar's Gold Class using the microfiber mitt.
- Finish the tires only after they were properly cleaned, not before.
That last point matters. Tire shine on a dirty tire is fake finish. Tire foam works best when the tire wall has already been cleaned enough to actually take the product evenly.
Why This Detail Mattered
This job is a good example of why people underestimate full detailing. When a vehicle sits for months without a proper clean, the problem is not only appearance. It is friction. Every time you step in, the vehicle feels messier, more stressful, and more neglected than it needs to be.
Once this Odyssey was reset, it did not just photograph better. It felt easier to use again. That is the part most people miss. Detailing is not only about gloss or social media shots. It is about restoring ease, pride, and comfort to a vehicle you actually live in.
What I Would Tell Someone Trying This Themselves
If you are tackling a family minivan that has gone too long without proper care, do not start with random product spraying. Start with sequence.
- Clear everything out first.
- Do your dry vacuum work before wet work.
- Treat the mats like their own job.
- Use separate tools for paint and wheels.
- Do not chase gloss before you remove the actual dirt.
Most bad detailing results come from impatience, not from lacking expensive tools.
Final Result on This 2012 Honda Odyssey
For a Sunday morning detail in Ajax on a family 2012 Honda Odyssey that had been sitting without proper cleaning for six months, the turnaround was strong. The front cabin went from visibly neglected to clean, controlled, and usable. The mats looked reset, the main interior surfaces looked sharper, and the van finally matched the level of care it should have had earlier.
This is exactly the kind of real-world detail that matters most to customers, because it is not a showroom queen. It is the kind of vehicle people actually drive every day.